I’ve seen this too often… when installation jobs go terribly wrong and I always ask myself, “Why didn’t the installer think before they installed the screen?”.

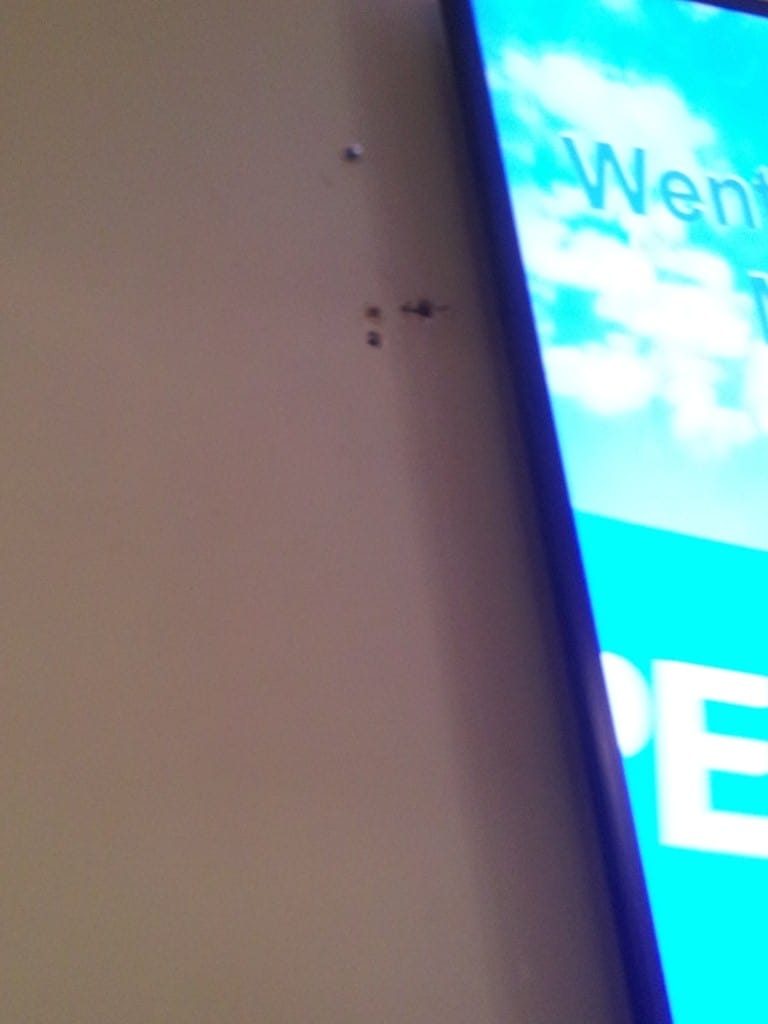
Here’s an example of an install I saw at a local Medical Centre where the installer drilled a few too many holes. Ok, so they misjudged the location of the studs or the measurements (who hasn’t done that before), but why didn’t they at least cover this up with putty? Or even fix this with something less noticeable. Leaving it as is, makes the job look very unprofessional and it can be a distraction for people like me.
From experience, it is always difficult for an installer to predict what type of environment they will be working with and this can sometimes cause delays to the project. So I decided to write a few tips that will help both you and your installers:
- take as many photos as you can when you are on site. The more pictures the better.
- bring a measuring tape with you and note down some of the measurements. If you have a smart phone, you can download a free tool called “Measure & Sketch”. This program will allow you to take a photo and then add measurements to the photos.
- check if there are power points or data outlets near the area where your clients wants to install the screen – take a photo so you remember where they are
- depending on the size and weight of the screen the client intends to purchase, check if there is structural support (beams, studs, concrete walls or ceiling,) to hold the weight. Sometimes it’s best to recommend an LED screen, since it’s less weight and most walls/ceilings will be able to support it
- check if there’s direct sunlight that may cause glare on the screens. If there is, then recommend a sunlight readable screen
- does the client have a wireless network and if they do, will there be wireless reception in the location of the screen?
- figure out what is the maximum size screen that will fit in your area. You don’t want to be in a situation whereby the client wanted a specific screen size and then you or your installer ends up finding out that it won’t fit… yes it has happened to us
- if the location of the power point for the screen and the player is too high, then see if you can get an electrician to install a power switch at a level where they can reset the system or screen. Not everyone has a ladder.
- if the above is true and you need to connect a USB key or a keyboard and mouse, then run a USB cable extender as well. That way you or your client doesn’t have to climb up to the player to insert the USB device.
- buy good quality wall brackets. Check to make sure you have enough space between the screen and the wall for your player. For ceiling poles, buy ones that are height adjustable, that way you don’t have to spend time cutting the poles.
- buy right angle power cables. Sometimes, when you have a screen flush mounted to the wall, there isn’t enough room to have a standard power cable (most protrude 4.5 cm). The right angle power cable protrudes only 2cm.
Are there any other points that I’m missing? I would like to hear some feedback from installers.
LIKE WHAT YOU'VE READ?
When you subscribe you will also join other Digital Signage readers who receive our content right in their mailbox. Good luck!![]()